Before the SCA took over my life at the beginning of October, I was working on a new hat for my Regency costumes. It started out silly, which I'll tell you about, but first, here's the finished hat:

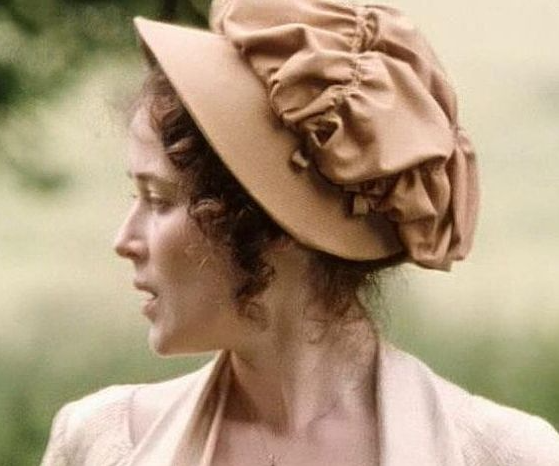
First, in July, I bought a blank hat form from Etsy (Austentation) and trimmed it up in blue fabric/ribbon and LOTS of hot glue. First mistake. I hated it - it was overly frilly and girly, and I felt like a blue version of Strawberry Shortcake when I put it on. NOPE. I took it apart and removed all the hot glue from the straw with my iron and a scrap of fabric.
 |
| just...no. |
The crown of the straw hat was too tall for that ruched soft fabric crown, so I cut part of it off and wrapped the edge in a bit of cotton bias tape to keep it from unravelling:
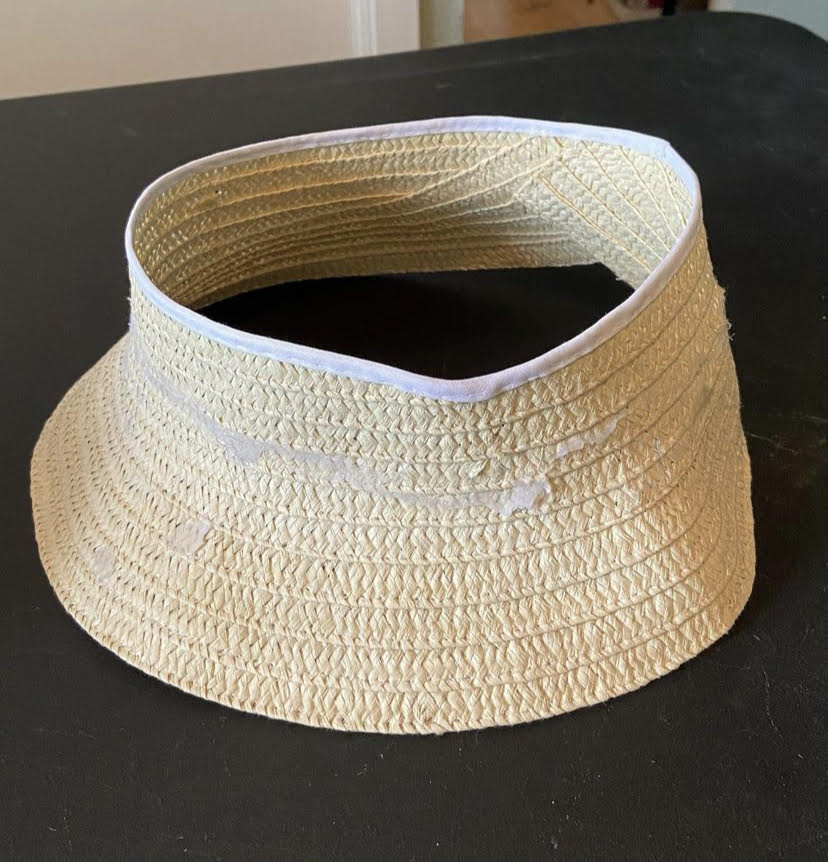 |
| (please excuse the hot glue, I removed it) |
Next I created a mock-up of the fabric cover for the brim, and an 18" circle crown piece with some spare cotton sheeting I had on hand. Once I got the fit right across the brim, I took apart the mock-up and used it as a pattern to cut out the pieces in a dark green linen (which I dyed; the linen used to be a light blue). The linen was a bit limp for this application, and a good deal heavier than the blue fabric had been, and it sagged in places in an unattractive way, I ended up using the gray cotton mock-up pieces as a lining, to give the linen some stiffness:

This time I sewed the pieces onto the hat with plain cotton sewing thread, rather than gluing them in place - it made the pieces lay flatter and more smoothly, and I should have done it in the first place, really, but I was too excited and in a rush with the blue. Oops. I used a pad stitch to baste the brim cover in place around the base of the crown; and whip-stitched the turned edge of the crown piece to the brim cover, then pressed the crown piece outward over the stitching.

At first, I didn't like how it came out. The fit around the edge of the brim was too loose, didn't look clean and smooth at all. Also, the crown was too small, and wasn't fluffy enough. I ended up taking the hat completely apart, re-stitching the brim edge so that it fit better, and cutting a new 22" circle for the crown so it would be large enough. After altering the fabric pieces, I tacked on a green poly satin ribbon to the sides for ties:

I'm really happy with it now; it looks great, fits perfectly, and is a lot more understated than the frilly blue thing I first made. The only thing is that now the crown is TOO big, and because of the limpness of the linen, it hangs in weird ways around the back of my head. The hat still needs a lining to protect my hair; I think when I do that, I'll stuff the crown of the hat with a bit of tulle or something to keep it poofed up a bit more so that it'll stay in place and not sag.
I plan to wear this hat with my white Ikea dress and the green velour spencer jacket I made in 2021, if I ever get another chance to wear either:

So what's next? I got some fabulous, FREE fabric the other day, and I'm working on a new Spencer jacket. More soon!


